
Updated 06 Jan 2026
Kitchens are one of the most used areas in the house. With cooking happening up to three times a day, mess and clutter can quickly accumulate in areas that you don’t always see on the surface.
That is why giving your kitchen a deep clean a few times throughout the year is essential to keeping your home clean and healthy. If you have a rental property it is also important to give the kitchen a deep clean as part of your end of lease cleaning.
Deep cleaning your kitchen can feel like a daunting task, particularly if it has been neglected for some time. So where do you even start?
This post is going to go over how you can deep clean your kitchen step by step in the most efficient way possible to make every inch of your kitchen clean and organised in less than a day.
1. Get prepared
Giving your kitchen a deep clean means you will not only be cleaning but also reorganising and decluttering. Before you even begin, get prepared by purchasing anything you need to get the job done.
Purchase or borrow all necessary cleaning supplies (listed below). If you are wanting to reorganise your pantry, drawers and fridge purchase mason jars, food containers, spice holders and drawer organisers that you may need. A label maker is also a great investment for completely revamping and organising your kitchen.
2. Pre-clean and declutter
Before you start cleaning it’s important to prepare your kitchen and declutter. Go through every cupboard, drawer as well as your fridge and freezer.
Prepare your kitchen for a deep clean by taking everything out from your cupboards and drawers and off your benchtops. Take all of the items to another room (except for fridge and freezer items, place these in a chilly bin or leave in the fridge for now) in your house and organise them into rough categories according to where they belong in the kitchen and then get analysing.
3. Gather your cleaning supplies
Now your kitchen has been cleared of clutter and is ready to be cleaned, gather your cleaning supplies. You probably have most of what you need already at home. Try to use natural cleaning products and quality microfibre and polishing cloths to make your deep clean effective and friendly for the environment. Here is a basic list of cleaning supplies you can gather:
• Microfibre cloths
• Polishing cloth
• Mop
• Vacuum cleaner
• All-purpose cleaning spray
• Duster
• Toothbrush
• Step ladder to reach high cupboards and the ceiling
• Oven cleaner
• Sponge
• Steel scouring pad
• Wood cleaner (if applicable)
• Fabric stain remover
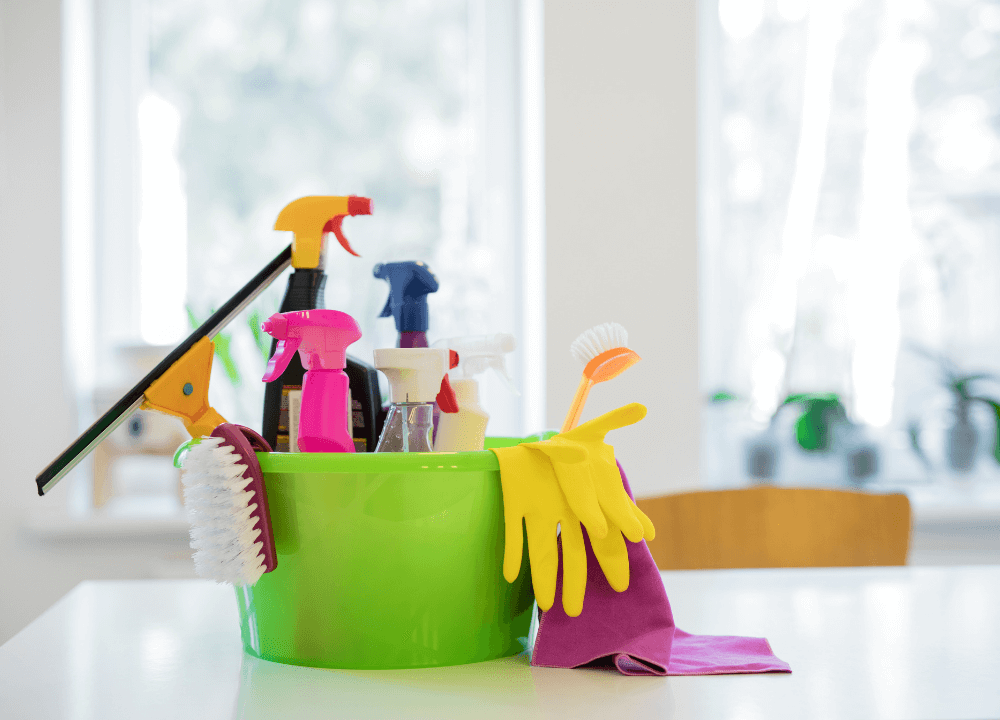
Source: https://www.canva.com/media/MACWlQ_YnQk
4. Organise your pantry & cupboards
First of all, go through all of the items that are kept in your pantry and cupboards. Check for expired food, spreads and sauces, duplicates, things that don’t belong in the kitchen, as well as broken kitchenware and utensils and unwanted appliances.
Throw away anything expired, stale, empty or broken and put items in their proper home if they don’t belong in the kitchen. Consolidate any duplicated by putting them into one container, jar or package.
If you have any working utensils or appliances that you no longer want to keep, set them aside to donate or resell on Trademe. Donate any food that is still edible but unwanted in your household.
Thoroughly dust, wipe down and clean all shelves, walls and appliances. Make sure you get into every nook and cranny which should be easy since all of the items have been taken out of the kitchen.
Polish metal handles, glass or stainless steel surfaces.
Don’t forget to empty all your rubbish and recycling bins and give the inside of your bins a really good wash.
5. Clean out all drawers
You will be surprised by how much unnecessary clutter and mess can accumulate in your kitchen drawers!
Analyse all of the items that you keep in your drawers including pots, pans, cutlery, knives, supplies and cooking utensils. Thoroughly go through everything and check for items that are out of place, broken or simply no longer needed in your kitchen.
All items that you decide will be kept, wipe, clean and polish. Leave them outside of the kitchen while you are thoroughly clean every inch of every drawer.
Throw all broken items away and set aside all other unwanted items to be resold or donated.
Source: https://www.canva.com/media/MADeq1B-cUs
6. Clean light fixtures
Next, get onto cleaning all your light fixtures. First, switch off all your lights and remove any glass to clean. Dust all light bulbs and ceiling light fixtures.
If you have a ceiling fan, dust and wipe the blades.
Replace all glass and give a final wipe and polish to remove any fingerprints.
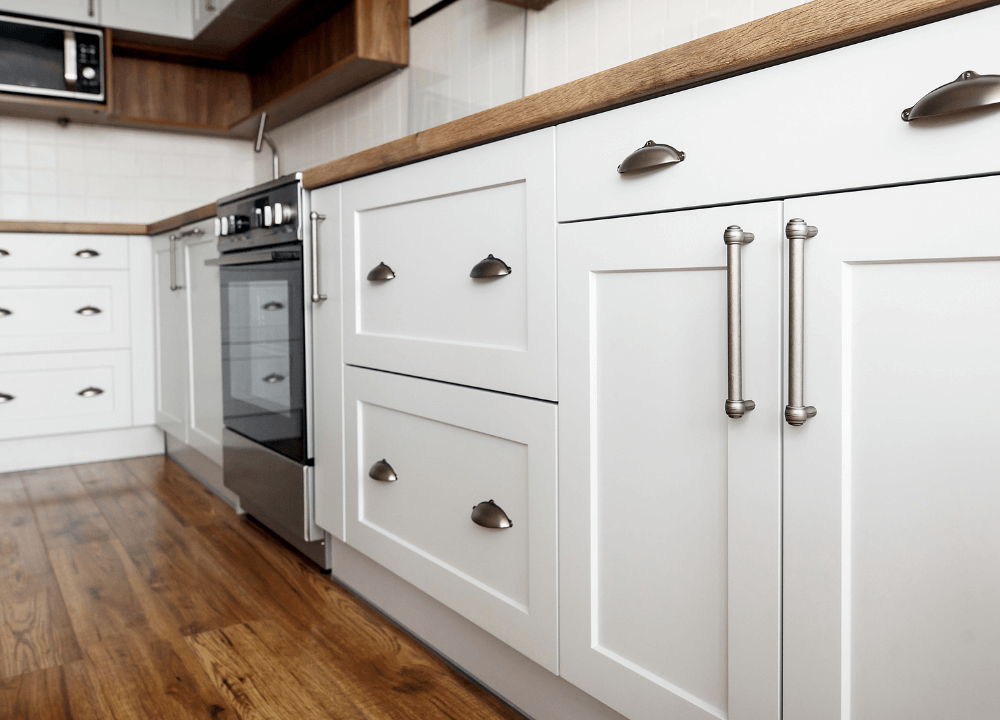
7. Clean cabinet fronts and all surfaces
Use cleaning spray, warm water and a microfibre cloth to wipe down all cupboard doors on both sides. If you have wooden cupboards, use a special wood cleaner.
Use a stepladder to ensure you reach the inside and outside of all your cupboard doors. Clean all surfaces with spray and wipe and then polish all doors and handles with a polishing cloth.
If your cabinets don’t go all the way up to the ceiling, the tops of your cabinets will need a good clean. Get an extendable duster and step ladder to give the tops a good clean. A handheld vacuum cleaner also works well for this. While you’re there, check all ceiling corners for dust and cobwebs.
8. Don’t forget to clean all the windows
If you have fabric curtains that can be taken down, do so and put them through the laundry. If you have blinds, dust and wipe each blade thoroughly. Next clean all your windows with a microfibre cloth and cleaning spray, finish it off by wiping down the windows with a polishing cloth until they sparkle and shine!
Lastly, open the windows and clean the window tracks and any nooks and crannies that are hard to reach.
9. Now it’s time to tackle your kitchen appliances!
Cleaning your appliances is the biggest job, especially the oven and the fridge. If you just get it all done together you will be in the zone and have it out of the way, overall saving you time and energy.
10. Oven
First, clean the oven. Remove the shelves and apply oven cleaner (remember to wear gloves and a mask) on the inside and doors and leave. Follow directions given on your oven cleaner package. Soak the oven shelves in warm soapy water and leave to sit.
While the oven cleaner is working, get to work on the stovetop. Remove any stove plates (if you have them), cover it in oven cleaner and place inside the oven.
After about 30 minutes (you can get cracking on the fridge while you wait) take the stovetops out of the oven and soak in water with the oven shelves. Then get scrubbing! Scrub the inside and door of the oven with a rough sponge. For any food that is really caked on you may need to attack it with a steel scouring pad. Once your oven is scrubbed out, wash all the soap away with a clean sponge and water.
Finally scrub clean the soaking stove plates and shelves, dry and put back on the stove and in the oven. Leave the oven door open so it can dry.

Source: https://www.canva.com/media/MADF2ngUiao
11. Fridge and freezer
Make sure all food items have been taken out and all expired and rotten food has been thrown away. For any perishable items in the fridge and freezer like ice cream, meat and dairy, place into a chilly bin while you clean.
Next, take out all shelves and drawers and soak them in warm soapy water or run them through your dishwasher if they fit. Now wash the inside walls and doors of your fridge and freezer with an all-purpose cleaner and a microfibre cloth.
Wipe down and dry the shelves and replace them. Wipe and polish the fridge and freezer doors. Open the doors and make sure you clean into all corners. Finally, put all the food back into the fridge in a neat and organised way.
You will be shocked at how much extra space you have created and how easy everything is to find! Try and keep a habit of keeping items in the fridge tidy and removing all expired food before it gets lost in the back!
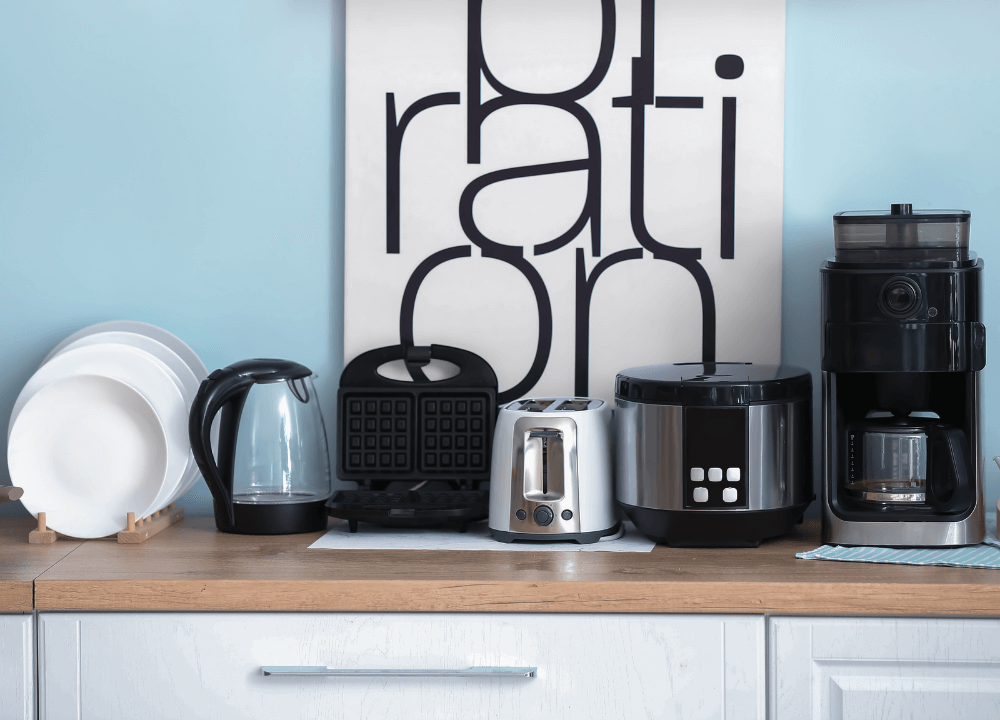
12. Small kitchen appliances
Small kitchen appliances include the microwave, coffee machine, food processor and blender, toaster, kettle and any other gadget you use. Remove any detachable components and wash them in the sink. Clean out any compartments where food or coffee may have accumulated and wipe down and polish all the surfaces of each appliance.
Source: https://www.canva.com/media/MAD8Ba0hgZc
13. Give all other counter items a clean
You will most likely have many other countertop items that will need a good clean! This includes your knife block, utensil holder, coffee, tea and sugar containers, fruit bowls, salt and pepper holders, cookbooks, display jars and so on. Dust and wipe all counter items, making sure any food splutters, grease and dust have been removed. Polish any glass and stainless steel until everything is sparkling!
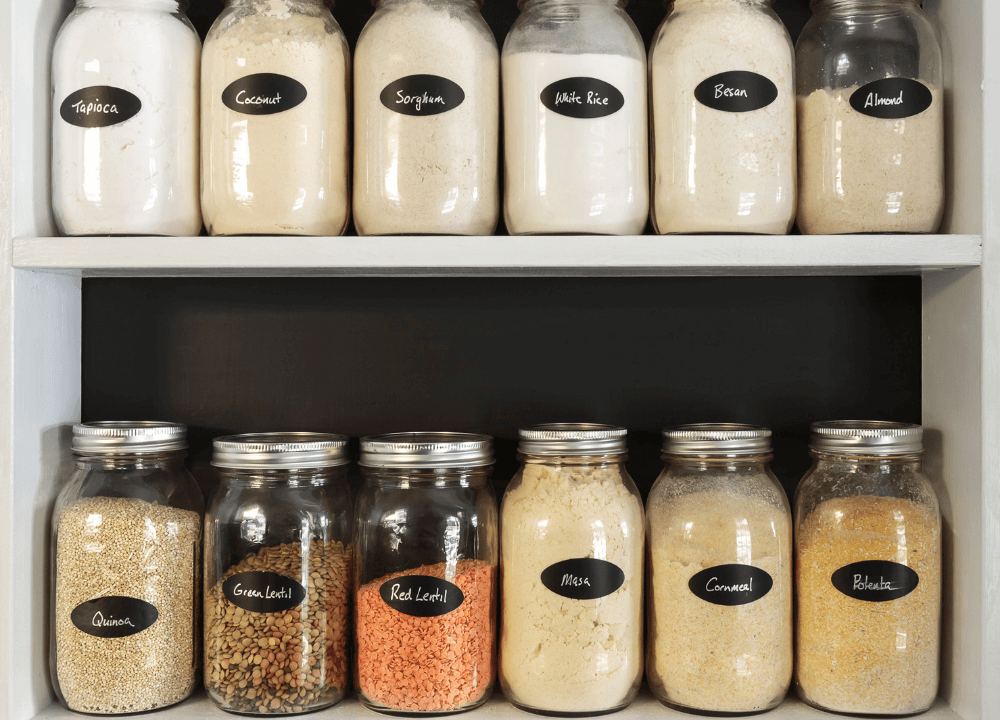
14. Putting it all back together
Now it’s time for the fun part! It’s time to put all of your cupboard, shelf and drawer items back in their place, neatly.
If you are organising all your pantry items into containers and jars, prepare them by deciding what items will go into what container. Create labels with a label maker or stickers. Place all food items into appropriate containers. Do this step before your final cleaning tasks as it will likely create some mess.
Put all items in place in your pantry and drawers according to the type of food item it is, in a logical way, making everything easy to find.
Put any drawer organisers you have for cutlery and utensils in your drawers and neatly put everything away. Same goes for any countertop items like your knife block and utensil holders.
Source: https://www.canva.com/media/MAEEbikGeHY
15. Clean kitchen table, bench, chairs and stools
If you have wood in your kitchen, use a wood cleaner to clean all wooden furniture and surfaces. Wipe and polish every inch of your bench.
For any glass or metal surfaces use a microfiber cloth and polishing cloth. For any fabric on chairs and stools check for stains, if you find any treat them with an appropriate stain remover. Wipe down any leather fabric.
16. Final cleaning tasks
Finish everything up by cleaning your floors and sink. Vacuum and dust, dirt and food from the floor then use a mop to wash them all down. Scrub, wipe and polish the sink and taps last! Once you are done put away all cleaning supplied in your cupboard under the sink.
There you go!
You have now successfully cleaned and organised your entire kitchen. This can easily be done in a day or if you don’t have a full day, a weekend is more than enough time to get everything done, including getting prepared.

Source: https://www.canva.com/media/MADat3UGHhg
If you’d love to give your kitchen a deep clean but simply don’t want to do it yourself, hire a professional cleaner to get the job done for you. Join ezy peazy today and post your kitchen cleaning task and wait for taskers who are professional cleaners to get in touch.


