Updated 07 Sep 2026
The first sunny weekend of spring usually means one thing: the kids are eager to get back on the trampoline.
But before they jump on, take five minutes to give it a quick once-over. A trampoline can look fine at first glance after sitting outside through winter, but a quick inspection may reveal rusty springs, worn padding, a small tear in the mat, or a safety net that has seen better days. And after months of wind, rain, and changing ground conditions, it is worth checking that everything is still safe and secure.
You do not need to spend your whole Saturday inspecting it.
Here is a simple five-minute trampoline safety check to run through before the spring jumping season gets properly underway.
Begin with the part everyone uses most: the jumping mat.
Walk around the trampoline and look closely for:
The middle of the mat may look fine, but the edges and stitching can take plenty of wear too, particularly after months outdoors.
If you find a tear or significant deterioration, do not treat it as a small matter. A damaged trampoline mat can become a bigger problem once it is under repeated pressure from jumping.
Quick check: Does the mat still look intact, flexible, and securely attached all the way around?
If not, it is time to look into a replacement before anyone jumps on it.
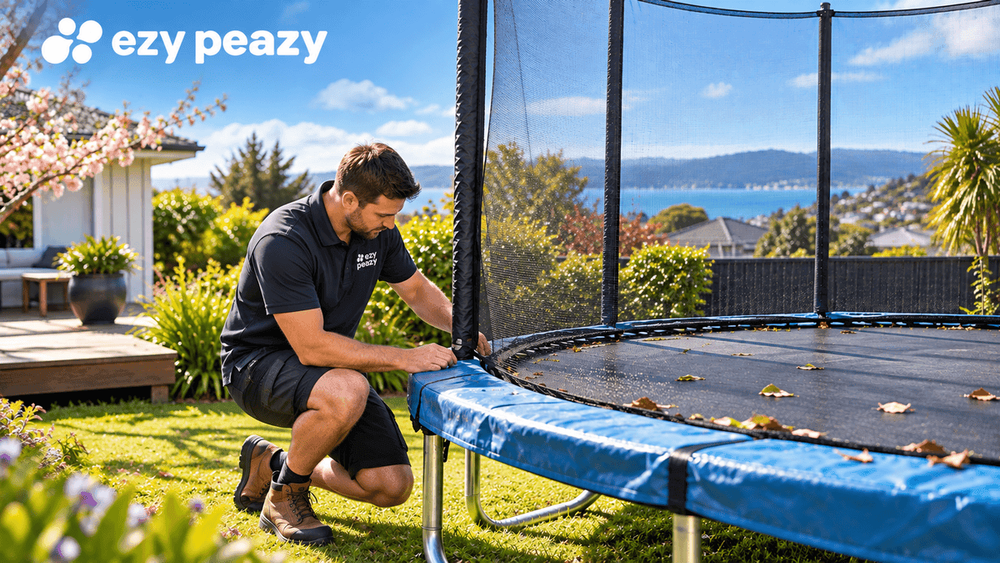
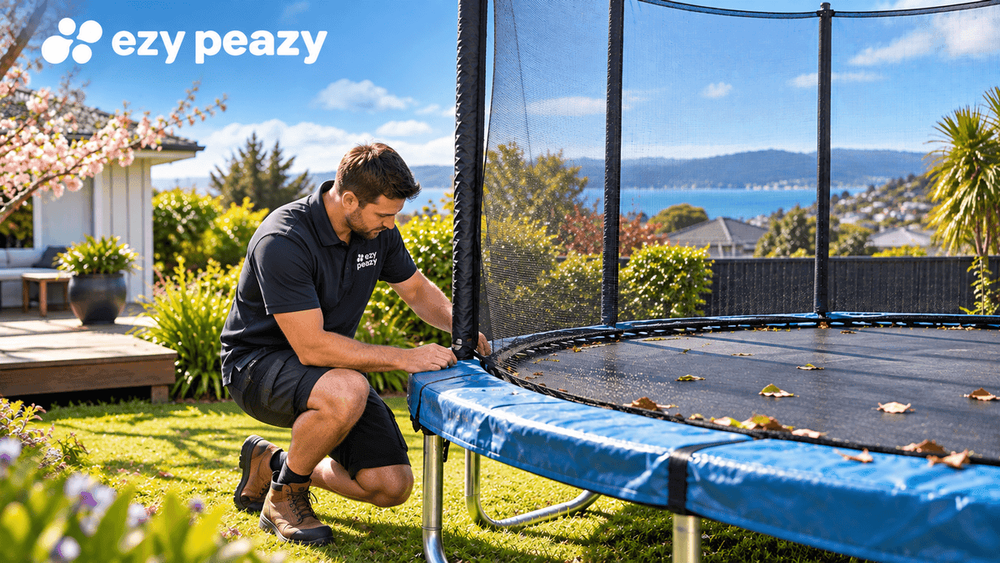
Next, check underneath and around the frame.
Look for anything that has changed since the last time the trampoline was in regular use, including:
After a wet winter, pay particular attention to rust or corrosion. A few rusty-looking spots do not necessarily mean the entire trampoline needs replacing, but damaged or significantly corroded components should not be ignored.
With the trampoline empty, gently test the frame from different sides to check for unexpected movement.
If you see that the frame is bent, damaged, or unstable, keep the trampoline out of use until the problem has been properly sorted.
Remember: a trampoline does not have to look obviously broken to need attention. Small changes can be early signs that a component needs replacing or checking.
Next, inspect the safety net, enclosure poles, and padding.
The enclosure can be easy to ignore because it is not part of the jumping surface, but it is a major part of the overall setup.
Check the net for:
Then check the padding around the poles and frame for:
If your trampoline safety net has a tear, or if the attachment points are loosening, do not assume the rest of the net is fine. The enclosure must be secure before the trampoline can be used on a regular basis.
The same is true of worn-out padding. If it is worn enough to reveal the hard parts of the frame, it is worth replacing rather than hoping it will last another season.
This is the part many people skip.
The trampoline may be in good shape, but what about the area around it?
Gardens change through the winter. Grass grows. Soil moves. Branches fall. And outdoor gear has a way of landing in the space that is available.
Check that:
It is a good idea to see if the trampoline has moved from where you first put it.
Strong winds can move outdoor equipment, especially if it is not secured properly. If your trampoline has moved from where you want it, do not just drag it back into position and call it a day. Check the position and stability before returning it to service.
Has your backyard changed since last summer?
Maybe you added a garden bed, moved the outdoor furniture, or did some landscaping.
A trampoline with plenty of space last summer might be in a new place now. Spring is a good time to take a look at the whole area, not just the trampoline itself.
The final job: clean it up.
Remove leaves, dirt, and other debris from the mat and surrounding area. Clean the surface where needed and check that everything is properly connected.
Then have one final look at:
If everything looks secure, intact, and stable, the trampoline is ready for use.
However, if something does not look right, do not let the five-minute check turn into a huge risk.
Just because a trampoline has been left outside during a New Zealand winter does not automatically make it unsafe. But the elements can take their toll after months of exposure.
High winds can topple outdoor equipment or place stress on its structure. After a particularly bad patch of weather, it is worth checking the trampoline is still stable and sitting correctly. Make sure the legs have not shifted and the frame remains level on the ground.
High winds can topple outdoor equipment or place stress on its structure. After a particularly bad patch of weather, it is worth checking the trampoline is still stable and sitting correctly. Make sure the legs have not shifted and the frame remains level on the ground.
UV exposure can also have a slow but steady effect on outdoor materials. The fabric, netting and padding may fade, weaken or deteriorate with time. Look for fading, fraying, cracking or brittle areas that could indicate the material needs replacing.
Leaves and other garden debris can gather on and under the trampoline, particularly if it has not been used for some time. Clearing them away is an easy part of getting the trampoline ready for spring. Check underneath as well, where damp leaves and sticks can collect around the frame and legs.
That is why a quick trampoline maintenance check at the start of spring is worth doing, even if everything looked fine when the kids stopped using it last year.
A five-minute check does not mean finding every fault. It is about catching the obvious stuff before it becomes a bigger headache.
Here are some commonly missed areas.
The zipper itself may work perfectly, but that does not mean the net is in good condition. Check the mesh and attachment points as well. Small tears can worsen with regular use, so damaged netting should be repaired or replaced.
It is easy to see what is happening on the surface and forget about the springs and frame underneath. Get down low and have a good look. Pay close attention to rust around the springs, frame joints, and legs.
It might have shifted a little, but if the position or stability has changed, it is worth checking out why. Make sure the legs are still firmly positioned, and the trampoline remains level.
Padding can gradually deteriorate, especially after being exposed to a lot of sun and weather. Examine the frame for splits, cracks, and exposed areas. If the padding no longer covers the frame properly, it may need replacing.
The rest of the backyard is not separate from a trampoline. New garden beds, outdoor furniture, toys, branches or other obstacles can alter the safety of the space around it. Before use, make sure there is still plenty of clear space around the trampoline.
If you find any of these issues around your trampoline, post a job on Ezy Peazy describing the trampoline model, the issue, and adding photos so a local helper can help with assembly, dismantling, moving, cleaning, or other practical outdoor tasks.
There is no need to replace every trampoline component just because a new season has arrived.
Instead, look at the condition of each part.
Do not rely solely on the age of a trampoline mat when deciding whether it needs to be replaced. Its current condition matters more.
This also applies to springs and trampoline nets. Check them frequently and follow the manufacturer’s instructions for your specific model instead of depending on a one-size-fits-all replacement schedule.
Occasionally, a five-minute inspection reveals a different issue: the trampoline is simply out of place.
Perhaps you rearranged the garden. Maybe you are clearing the backyard, doing some landscaping, or making more space usable.
Moving a trampoline can be difficult, especially if it is a larger model. Some trampolines are easier to move with an additional pair of hands, and you may need to reposition it without causing damage to the frame, mat, or enclosure.
Seeking assistance instead of attempting to handle everything yourself can make sense if you have other springtime tasks piling up at the same time.
If you need help moving, dismantling, or reassembling a trampoline, post the job on Ezy Peazy. Include the trampoline’s approximate size, brand or model, access details, whether it needs dismantling, and a few photos so taskers can understand the job before quoting.
The trampoline is often just one item on the springtime to-do list.
You may also need to move garden furniture, clean outdoor spaces, assemble equipment, or take care of general property maintenance you have been putting off throughout the winter.
Ezy Peazy can help with that.
Whether you need a hand moving something heavy, assembling equipment, clearing a space, or tackling another outdoor task, you can use the platform to find local taskers for practical help around the house.
Find a Tasker for your next outdoor job
Getting your trampoline ready for spring does not take an entire afternoon.
Check the mat. Check the frame and springs. Check the padding and net. Make sure the surrounding ground is clear. Then give the whole setup one last look.
Before the kids head back outside every sunny afternoon, five minutes now can help you catch small issues that are much easier to handle.
So grab a cup of coffee, head outside, and take a quick look at the trampoline before the first big spring jumping session. Or just enjoy the coffee while a trampoline expert found on Ezy Peazy can do it all for you.
Five minutes. A safer setup. And this spring, one less thing to worry about.

Founder, Ezy Peazy
Sumit Sharma is the Founder and CEO of Ezy Peazy, with first-hand experience in New Zealand’s home services and local tasking industry. He writes about home services, local trades, pricing, and how Kiwis find reliable help, drawing on his experience building and running Ezy Peazy.